knacksnews
iPhone Vlogging Made Simple: Your Step-by-Step Guide
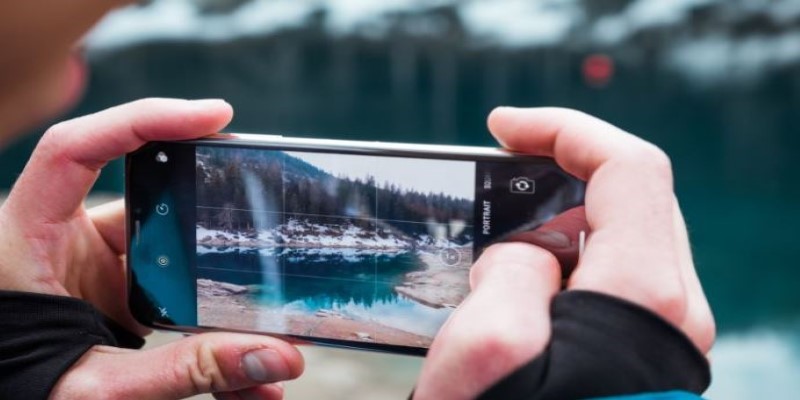
Vlogging with an iPhone isn’t just a backup—it’s a creative choice. You don’t need bulky equipment or complex settings, just your phone, an idea, and some know-how. Many top vloggers started with nothing but a smartphone because it works. This guide will show you how to turn your iPhone into a powerful vlogging tool.
We'll cover everything from setting up your camera and capturing quality audio to editing your footage. Whether you're documenting your day or sharing tips, you'll get the practical steps you need to start vlogging easily and effectively.
Setting Up Your iPhone for Vlogging
Before hitting the record button, it’s worth spending some time getting your phone’s setup right. The camera on most modern iPhones—from the XR to the latest Pro models—can easily handle high-quality video. But the quality doesn’t just come from the hardware. It also depends on how you use it.
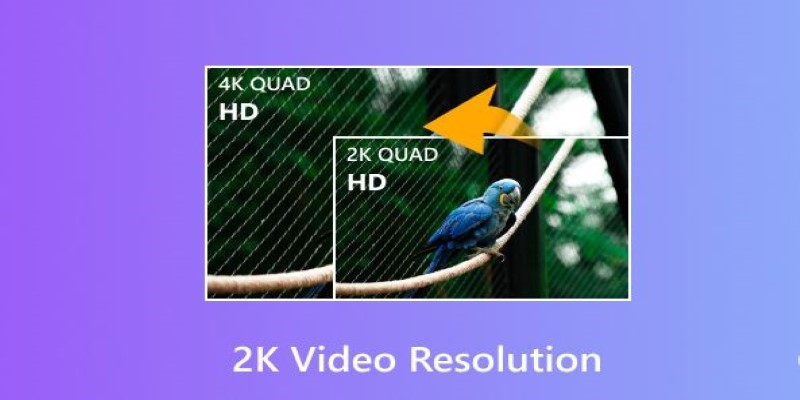
Start with your camera settings. Go into your iPhone’s settings, scroll to “Camera,” and set your video resolution. For vlogging, 1080p at 60fps is a good starting point—smooth motion without huge file sizes. If you’re aiming for a cinematic look, you can try 4K at 24fps, but keep in mind that it eats up more storage and requires more careful editing later.
Next, clean the lens. Seriously, a smudge can ruin a great shot. Then switch to the rear-facing camera when possible—it usually offers better quality than the front-facing one. If you need to see yourself while recording, you can either use a mirror setup or get a small external monitor later but don't compromise on video quality unless you need to.
Your iPhone's default camera app is solid, but third-party apps like Filmic Pro give you more control. You can manually adjust exposure, ISO, and focus and even choose bitrates. The built-in app is fine for beginners, but as you grow, you'll naturally move to tools that offer more depth.
Audio and Lighting: The Game Changers
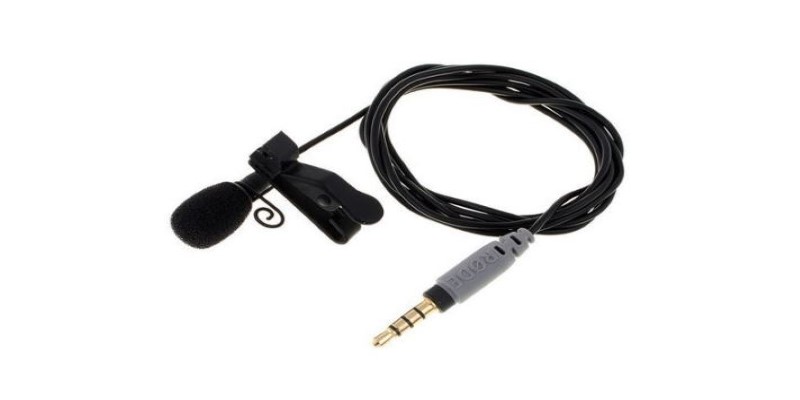
Video gets the glory, but audio wins the audience. Viewers will forgive shaky footage but not muffled, crackling sound. Your iPhone's internal mic is good for short clips, but for consistent quality, use an external microphone. A simple plug-and-play lavalier mic, like the Rode SmartLav+, can drastically improve your audio. If you're recording indoors, consider a shotgun mic or a small desktop mic with a windscreen.
If you're shooting outside, wind noise is your enemy. Use a dead cat wind muff on your mic or find natural windbreaks like walls, cars, or even your own body. Always do a sound check before recording the full video. Just a 10-second test can save you from having to reshoot an entire scene.
Lighting is key for great vlogs. Natural light works best, so shoot near windows or during golden hour for soft, even illumination. Avoid direct sunlight as it creates harsh shadows and overexposure. If you're indoors or filming at night, use a small LED light or ring light. Position it at a 45-degree angle to your face for a flattering effect. Steer clear of harsh overhead lights, as they can make you look tired or washed out.
The more you control your light and sound, the less fixing you’ll need to do in editing. That saves time and keeps your footage clean.
Filming Techniques and Storytelling Flow
You don't need a word-for-word script, but having a rough structure is essential to keeping your vlog on track. Treat your vlog like a short story—start with a hook to grab attention in the first 10 seconds. It could be a bold statement, a question, or an energetic intro that pulls viewers in.
Once you start filming, vary your shots. Change angles and move the camera to keep the visuals dynamic. Include cutaways (b-roll) to break up longer scenes. Small shots, like a coffee brewing or hands at work, add texture and keep things engaging.
Stability is key for smooth shots. Use a tripod or handheld gimbal to avoid jittery footage. If you’re moving while filming, hold the phone steady with both hands close to your chest. This helps prevent shaky shots.
When addressing the camera, look directly into the lens. Avoid staring at yourself on screen, as it can break the connection with your audience. Smile, blink, and breathe naturally. If you make a mistake, pause, correct yourself, and continue—you can always cut out the flubs later.
Remember, your vlog doesn’t have to be long. A concise 5-10 minute video is enough to tell your story and keep your audience engaged.
Editing on iPhone and Publishing Tips
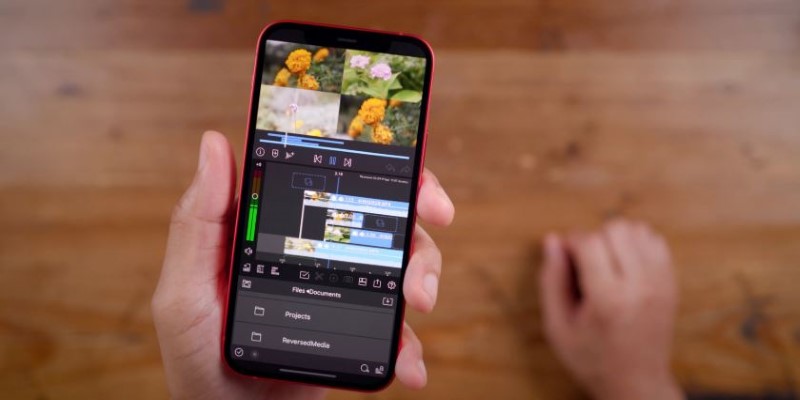
Editing your vlog on an iPhone is simple and accessible. Free apps like iMovie are great for beginners, while LumaFusion offers advanced features like color correction and multiple audio layers. Start by trimming clips to remove dead space, then add a b-roll to keep the video engaging. Use simple transitions like fade-ins and hard cuts, and avoid excessive flashy effects that can make your vlog feel outdated.
Once your clips are in place, check the audio levels. Ensure the sound is consistent without sudden volume jumps, and if you’ve added background music, keep it subtle so it doesn’t overpower your voice. You can find royalty-free music on platforms like YouTube Audio Library or Epidemic Sound.
When adding text, use it sparingly to emphasize key points or place names. Avoid cluttering the screen; a clean, flowing visual is more appealing.
Before publishing, export your video in high-quality 1080p format. Upload directly to YouTube or Instagram, and optimize the thumbnail, title, and description. A compelling thumbnail will grab attention, while a short, relevant description with keywords will help your vlog get discovered. Keep an eye on feedback and consistently improve to grow your audience.
Conclusion
Vlogging with your iPhone is an accessible and powerful way to create engaging content without the need for expensive gear. By focusing on proper setup, good audio, lighting, and effective editing, you can produce professional-looking vlogs directly from your phone. With consistency and creativity, your iPhone can be the perfect tool to tell your stories and connect with audiences. Start vlogging today—your phone is all you need to bring your ideas to life.
Related Articles
The Ultimate Guide to Converting iPhone Videos to MP4
Convert SWF to MP4 on Mac: 5 Easy Solutions

Convert 2D to 3D with LeiaPix Converter: A Complete Review
Topaz DeNoise AI: A Photographer’s Real-World Review
How to Change MOV to MP4 on Mac in 2025: 5 Reliable Methods
Best AI Video Watermark Removers Online: Top 4 Tools for Seamless Editing
iPhone Vlogging Made Simple: Your Step-by-Step Guide
Remini Video Enhancer Review: Transform Your Videos with AI Technology

Fast and Free AI-Powered Tools to Cleanly Cut Photo Backgrounds
The Truth About Lucas AI Video Generator: A Deep Dive
Best OBS Alternatives for Low-End PCs and High-End Production